


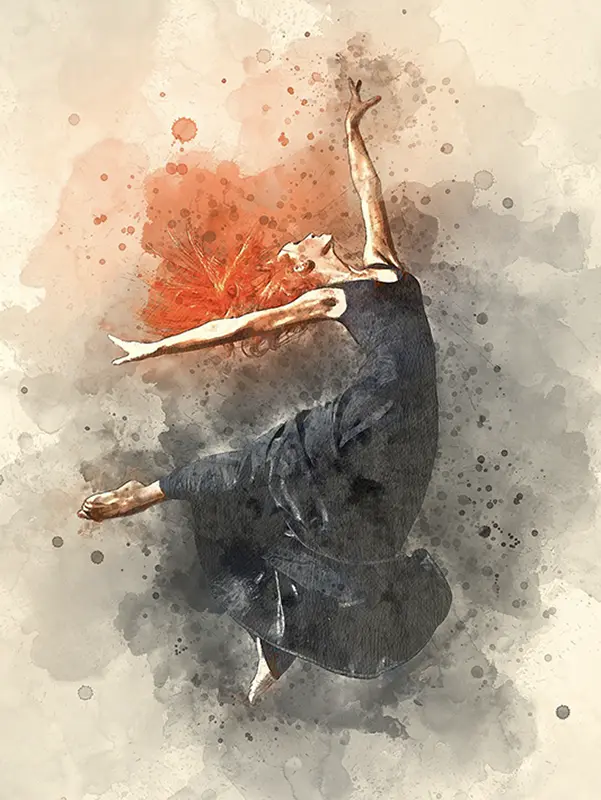
When learning watercolor, many beginners use photos as references but often fall into the trap of “painting it like a photo yet lacking artistic depth.” Mastering photo-to-watercolor techniques helps you choose the right photo, simplify details, and emphasize the subject, making your painting both realistic and artistically expressive.
Photos suitable for watercolor should have clear light and shadow, simple composition, distinct layers, and details that can be simplified. Tip: Landscape photos are better for beginners than portraits because they have stable structures and varied elements.
Use the cropping function on your phone or tablet, applying the “rule of thirds” or “diagonal guides” to place the subject off-center, adding a sense of movement.
Convert the photo to black and white, observe the distribution of light and shadow, and use a pencil to sketch the main shapes and proportions. No need to draw details—just capture the major outlines.
In the sketch stage, decide the focal point. Use stronger lines, enhanced details, and color contrast to naturally draw the viewer’s attention to the main subject.
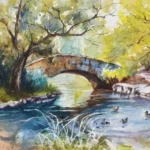
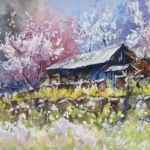
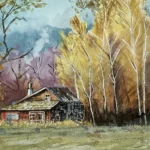
Choose a photo and try painting it in three different ways:
Observe which effect works best, record your preference, and build your ability to transform reference photos into watercolor paintings.
For more watercolor knowledge, refer to:Rule of Thirds (Composition) – Wikipedia
If you want to deepen your understanding of color and watercolor techniques, check out our courses:“Watercolor Course”

Ho Yeh Jianda — An expert in watercolor and oil painting instruction, graduated from the National Taiwan University of Arts, with 30 years of creative and teaching experience. Winner of multiple first prizes in national art exhibitions, he specializes in blending the lines of traditional Eastern ink painting with the brushwork of Western watercolor, guiding students from beginner to advanced levels to discover their own artistic style. For more courses, visit: Artify Ho Yeh Studio.


我們不會發送垃圾信,只會分享水彩課程新消息哦!