


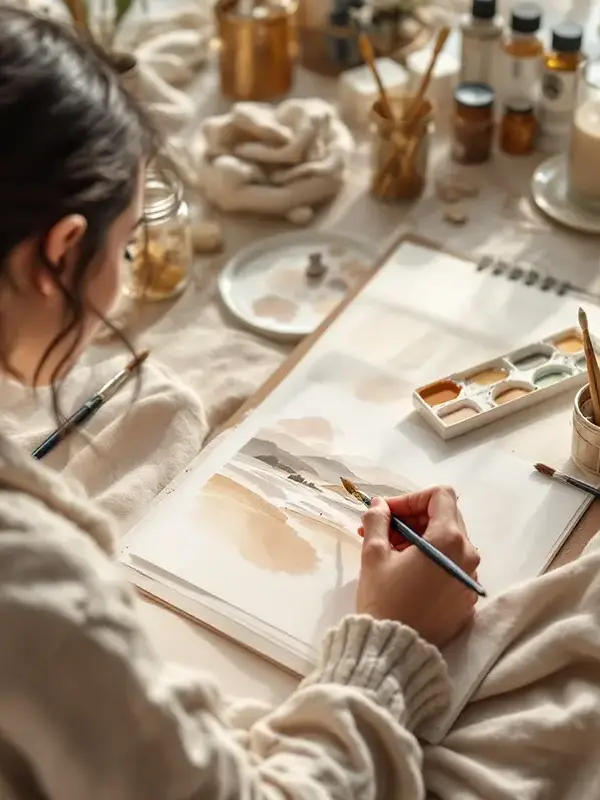
Beginner watercolorists often encounter the problem of "colors turning muddy as you mix." This article summarizes 3-step watercolor mixing techniques, from color theory to practical methods, so your paintings remain clear and vibrant, and your colors never get muddy again.
Cool tones (such as blue and teal) make the painting recede and feel calm; warm tones (such as red, orange, and yellow) make the painting advance, feel warm, and lively. When using complementary colors, pay attention to:
The primary colors are red (magenta), yellow (lemon yellow), and blue (ultramarine). By mixing them, all hues can be created.
| Situation | Wrong example | Correct example |
|---|---|---|
| Muddy color | Directly mixing complementary colors (e.g., purple + yellow) | Layer colors, controlling the amount of water and the time interval |
| Loss of transparency | Use opaque paints with multiple brushstrokes | Use transparent colors with light, single brushstrokes |
| The subject does not stand out | Mixing all colors results in no hierarchy | Keep high saturation on the main subject, and lower saturation elsewhere |
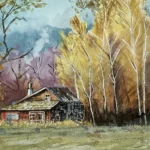
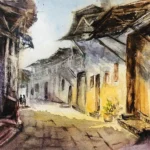
You can compare a "muddy mix" failed piece with the correct color mixing result side by side, or mark the mixing logic on the color wheel to help understand color relationships.
After mastering the three watercolor mixing techniques, you can freely express your creative intentions. Your paintings will be clear, layered, and vibrant, leaving muddy colors behind. By practicing primary color mixing, using the color wheel, and controlling warm, cool, and complementary colors, watercolor mixing will no longer be difficult.
Further Reading:Color – Wikipedia
Recommended Course:Watercolor Course

Ho Yeh Jianda — An expert in watercolor and oil painting instruction, graduated from the National Taiwan University of Arts, with 30 years of creative and teaching experience. Winner of multiple first prizes in national art exhibitions, he specializes in blending the lines of traditional Eastern ink painting with the brushwork of Western watercolor, guiding students from beginner to advanced levels to discover their own artistic style. For more courses, visit: Artify Ho Yeh Studio.


我們不會發送垃圾信,只會分享水彩課程新消息哦!