


Learn watercolor edge and blending techniques to master hard and soft edge control, water amount adjustment, and three blending methods. This will make your watercolor paintings cleaner, more transparent, and layered—perfect for both beginners and advanced learners to practice.
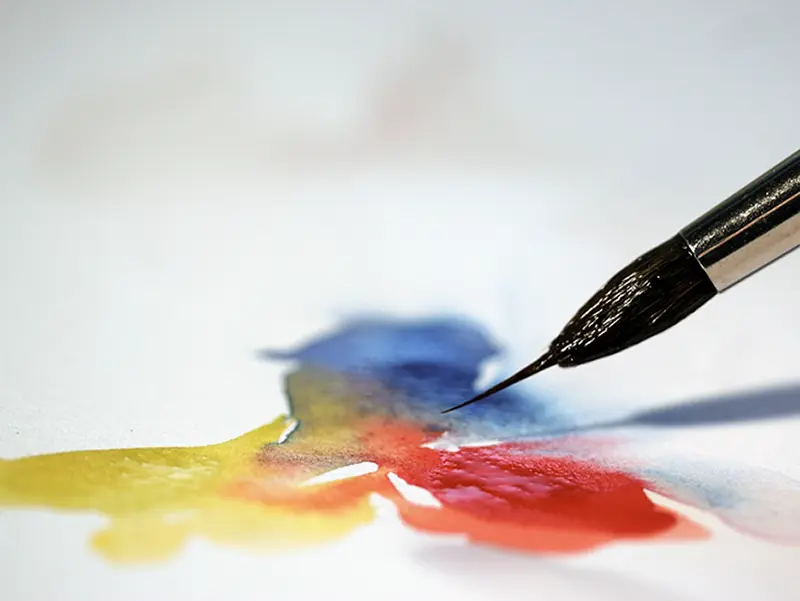
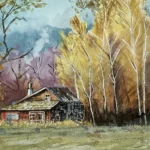
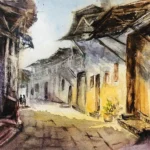
In watercolor painting, edge and blending techniques are often the key to achieving texture and a professional look. Many beginners struggle with muddy areas, color contamination, or blurred outlines, which are usually related to mastering these techniques. This article will guide you through three core aspects to gradually learn how to create clean, transparent, and rhythmically expressive watercolor works.
In watercolor, edge handling directly affects the focal point and rhythm of the painting. The two common types of edges are:
Tip: If the entire painting uses only hard or soft edges, it will appear monotonous. Hard edges act as strong accents, while soft edges provide breathing space. Learning to alternate them creates more dynamic and engaging compositions.
When adding clean water to paint that hasn’t dried, abrupt hard marks can appear. Solution: Pay attention to the paper’s wetness; blend while the paper is slightly damp, or use the wet-on-wet technique for smooth transitions.
Overlapping or mixing colors can result in a muddy appearance. Solution: Apply colors in layers, control the water on your brush tip, and ensure the paper is completely dry before adding a second layer.
Use clean water near the edge of the color, allowing the paint to naturally flow into the wet area. This is ideal for sections requiring soft transitions.
Use a dry brush or tissue to lift paint, creating highlights or reflective details.
Choose a square, circle, or triangle and try:
Record your brushstrokes and water amount to gradually develop a tactile sense of working with watercolor.
For more watercolor knowledge, refer to: Watercolor Painting – Wikipedia
Want to master blending and layering in watercolor? Check out our courses:“Watercolor Course”

Ho Yeh Jianda — An expert in watercolor and oil painting instruction, graduated from the National Taiwan University of Arts, with 30 years of creative and teaching experience. Winner of multiple first prizes in national art exhibitions, he specializes in blending the lines of traditional Eastern ink painting with the brushwork of Western watercolor, guiding students from beginner to advanced levels to discover their own artistic style. For more courses, visit: Artify Ho Yeh Studio.

我們不會發送垃圾信,只會分享水彩課程新消息哦!