


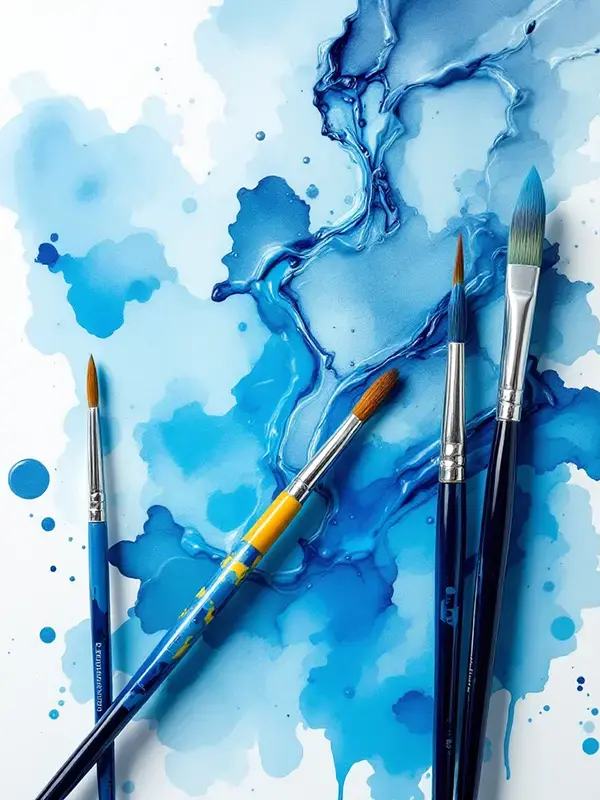
The most common problem beginner watercolorists face is not choosing the wrong colors, but not mastering the techniques. This article summarizes 5 essential watercolor techniques, from operational principles to practice methods, helping you paint transparent water effects that are clear and layered.
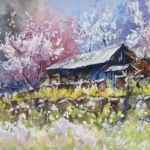
Apply color while the paper is still wet; the paint will naturally spread, creating soft blending effects. Suitable for painting clouds, skies, petal edges, or backgrounds.
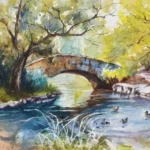
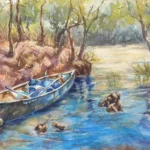
Apply color with a wet brush on dry paper; edges are clear and controllable. Suitable for painting details, architectural outlines, and object edges.
幾乎乾筆畫在乾紙上,會留下粗糙、乾刷質地。適合畫樹皮、岩石、毛髮或增加筆觸質感。
Apply the second layer only after the first layer is completely dry, creating a transparent layering effect. Suitable for building shadows, color depth, and complex hues.
Use a wet brush or tissue to lift paint, creating highlights. Suitable for painting glass, water reflections, or petal highlights.
| Technique | Practice Example | Suggested Focus |
|---|---|---|
| Wet-on-Wet | Circular blended flowers | Control water amount and blending area |
| Wet-on-Dry | Architectural lines + shadows | Practice stable strokes and edge control |
| Glazing | Light and shadow on fruit surface | Master the timing of wet and dry layers and transparency |
| Dry-on-dry | Strokes for branches and grass | Create visual texture and detail |
| Lifting | Highlights on a water bottle | Practice controlling color removal and light source |
Further Reading:Watercolor Painting – Wikipedia
Recommended Course:Watercolor Course

Ho Yeh Jianda — An expert in watercolor and oil painting instruction, graduated from the National Taiwan University of Arts, with 30 years of creative and teaching experience. Winner of multiple first prizes in national art exhibitions, he specializes in blending the lines of traditional Eastern ink painting with the brushwork of Western watercolor, guiding students from beginner to advanced levels to discover their own artistic style. For more courses, visit: Artify Ho Yeh Studio.


我們不會發送垃圾信,只會分享水彩課程新消息哦!